Dial Adders · Volume 8
Care, Repair and Restoration
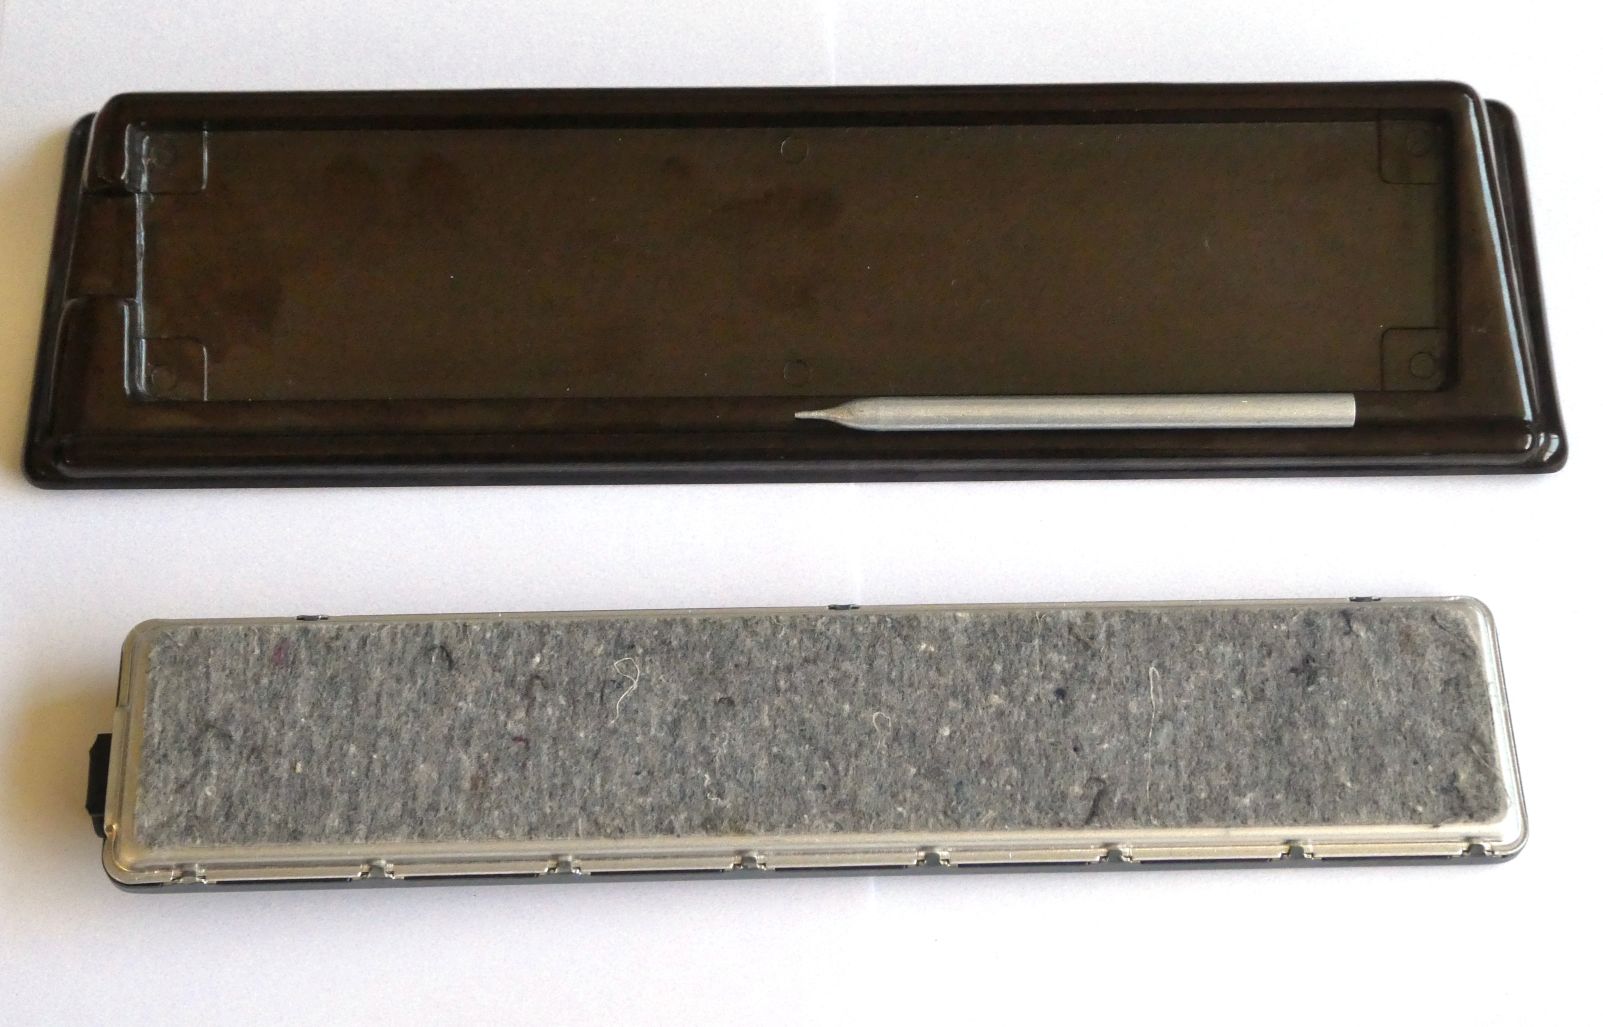
A Lightning is a simple machine that is awkward to repair. It has few parts and almost nothing to adjust, and most problems come down to dirt, old lubricant or a bent part. But it was built like a tin toy. The axles are rivets through the base plate, so the wheels cannot be taken off without drilling. The top plate is held on by folded tabs that break if they are bent too often. So the guiding principle for a Lightning is to do as much as possible from the outside, open it only when there is no other way, and open it once.
No Lightning service manual, factory repair instructions or published teardown has been found. What follows is based on Hook’s patent, the factory leaflets, Otnes’s description of the construction, what owners and collectors report of these and similar machines, and general practice with small mechanical calculators. Where a step is general practice rather than documented Lightning procedure, that is said.
8.1 First, diagnose from the outside
Before touching a tool, run the machine through a set of tests. They take five minutes and localise nearly every fault. Use a proper stylus (see the collecting volume), never a pencil.
- Each dial, each figure. On every dial, add 1, then 2, and so on up to 9, clearing in between. Each stroke should run smoothly to the stop and leave a whole digit centred in the window.
- The full carry. Set 99,999.99, by adding 9 on every dial, then add 1 on the cents dial. Every window should roll to 0 together. This is the hardest test for the machine: the stylus has to drive all seven wheels at once, so expect it to feel stiff. A carry that stops partway, with some windows rolling and others not, points to the first wheel that did not move.
- Clearing. On a lever machine, set a number with a 9 in every place and pull the lever firmly and fully to the left. Every window should return to 0, and the lever should go back to its rest position without binding. On an early machine, clear each dial from its red triangle.
- Subtraction (grey machines only). From zero, subtract 1 on the cents dial with the small figures, anticlockwise. The borrow should ripple to 99,999.99.
- Half digits. Turn a dial slowly and watch the window. The digit should snap to centre at each step. A wheel that stops between digits has a weak or gummed pawl.
Table 1 — First, diagnose from the outside
| Symptom | Most likely cause | First thing to try |
|---|---|---|
| One dial stiff or sticky all the way round | old lubricant or rust on its rivet axle; grit in its notches | dry cleaning and working the dial (below) |
| Stiff only during a carry | normal to a degree; worse if a wheel further along the row is binding | test each column’s carry separately to find the binding wheel |
| Carry stops at the same place every time | the first wheel that does not move is binding, or its pins or the carry tooth are bent | clean that column; inspect through the windows and dial apertures |
| Digit sits between figures in the window | pawl weak, bent or gummed; or the stroke was not taken to the stop | clean; if it persists, the pawl needs attention from inside |
| Wheel overshoots on a carry | pawl not holding | as above |
| Lever does not zero every wheel | a binding wheel the rack cannot turn, or a worn or bent rack | clean; pull the lever its full travel |
| Lever stiff or does not return | dirt in the slot or a bent bar | clean the slot; straighten only if clearly bent |
| Stylus slips out of the holes | stylus too thin or blunt, or held at an angle | a correct stylus held upright |
| Rust on the back plate | storage | treat the back only; keep it away from the mechanism |
8.2 Cleaning from the outside
Dust and grit. Lift the machine out of its stand. Brush out the dial apertures with a soft, dry brush, and blow through the stylus holes and the gaps around the dials with low-pressure air, working every dial back and forth as you go. Much of the stiffness in a neglected Lightning is plain dirt in open gearing, and this alone often cures it.
Gummed wheels. If a dial stays stiff, old lubricant has probably hardened on its rivet. The general practice with small mechanical calculators is to free gummed pivots with solvent first, rather than adding oil on top. Apply a very little naphtha (lighter fluid) or isopropyl alcohol with a fine brush at the dial’s centre, and work the dial back and forth many times while the solvent softens the old film. Repeat. A collector freeing a stuck wheel on a similar Precise dial adder needed partial disassembly, cleaning, lubrication “and a lot of trial and error”, which is a fair warning that this can take a while. Test any solvent first on a hidden part of the paint. The figures on the Los Angeles faceplates are printed, not engraved, and can lift.
Lubrication. The factory was emphatic: “Never oil the Lightning. The Lightning is properly and permanently lubricated before leaving the factory.” The mechanism supports that advice. The pins, notches and carry teeth are open to the air, every movement is pushed by hand, and oil on them collects lint and grit and in time gums. If a cleaned axle squeaks or drags, the most that general practice would add is a trace of light clock or watch oil on the rivet pivot itself, applied with a pin. Never put oil on the teeth or pins, and never spray anything into the machine.
8.3 Opening a Lightning
Grand Rapids machines and The Calculator are riveted shut and, as Otnes found, “cannot be readily taken apart”. He X-rayed his instead.
Los Angeles machines can be opened, with care. Otnes:
The top plate is held onto the machine with metal tabs that wrap around the bottom plate. While I do not recommend removing the top from a Lightning, it can be done remembering that the tabs can easily break off after a series of cold bends.
If cleaning from the outside has failed and the machine is worth the risk, an approach consistent with that warning is below. It has not been tried for this series, and it is not documented procedure.
- Photograph the machine from every side, especially the tab positions and the windows’ readings.
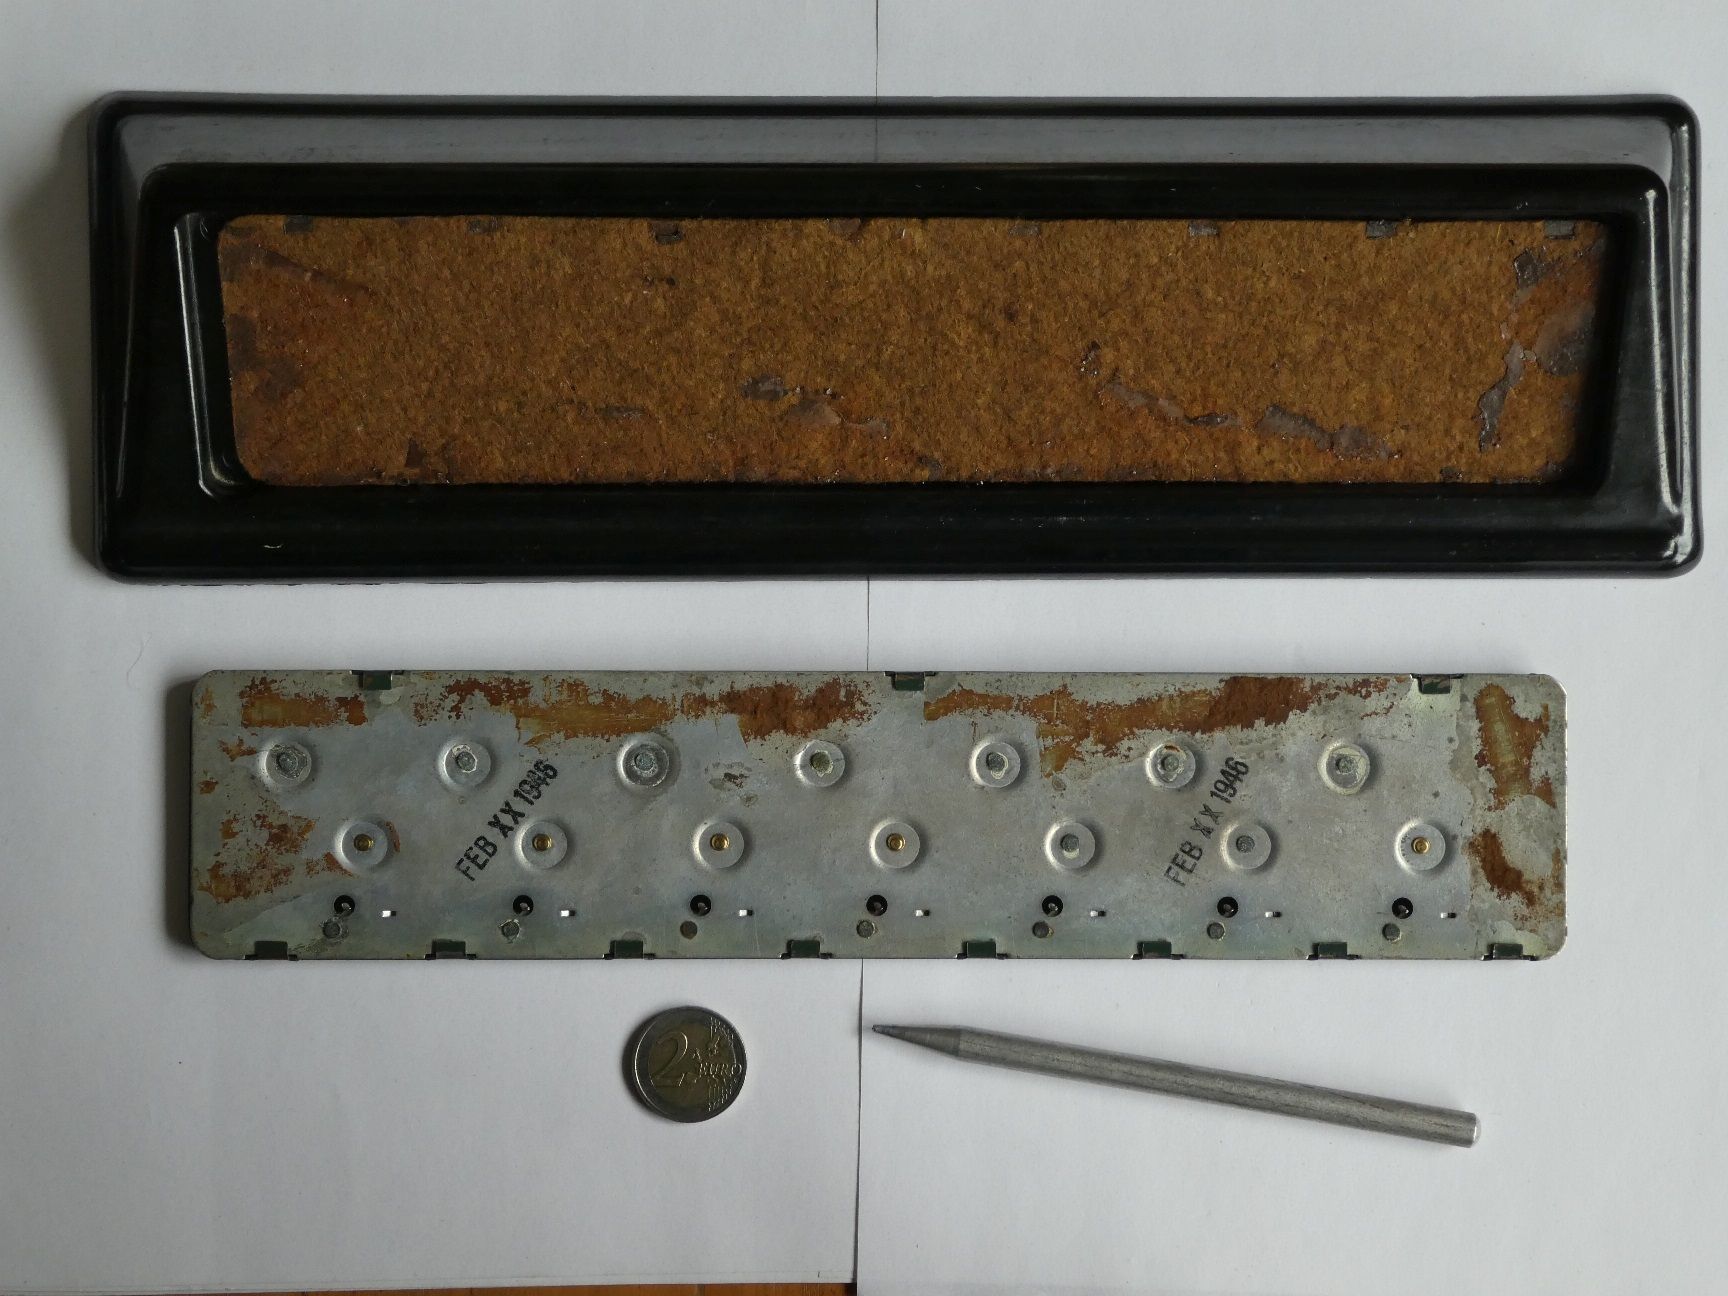
- Lift the machine from the stand. Peel back the felt from the back plate if it covers the tabs, keeping the felt for refitting.
- Lift each tab only as far as needed to free the top plate, with a thin flat blade, in one smooth movement. Each bend uses up some of the tab’s life, so straighten each one once, not a little at a time.
- Lift the top plate straight up, keeping the machine flat. The stop tongues, the windows and the tops of the pawls are under it. On a lever machine, note how the clearing bar sits before disturbing it.
- Photograph the open mechanism before touching anything, with every wheel visible. These would be among the first published photographs of a Lightning’s interior.
- Clean in place. The wheels stay on their rivets.
- Reassemble by bending each tab back down once. If a tab breaks, the top plate can be retained with a small dab of epoxy at the break or a discreet clamp. Neither is documented for this machine.
8.3.1 What you should find inside
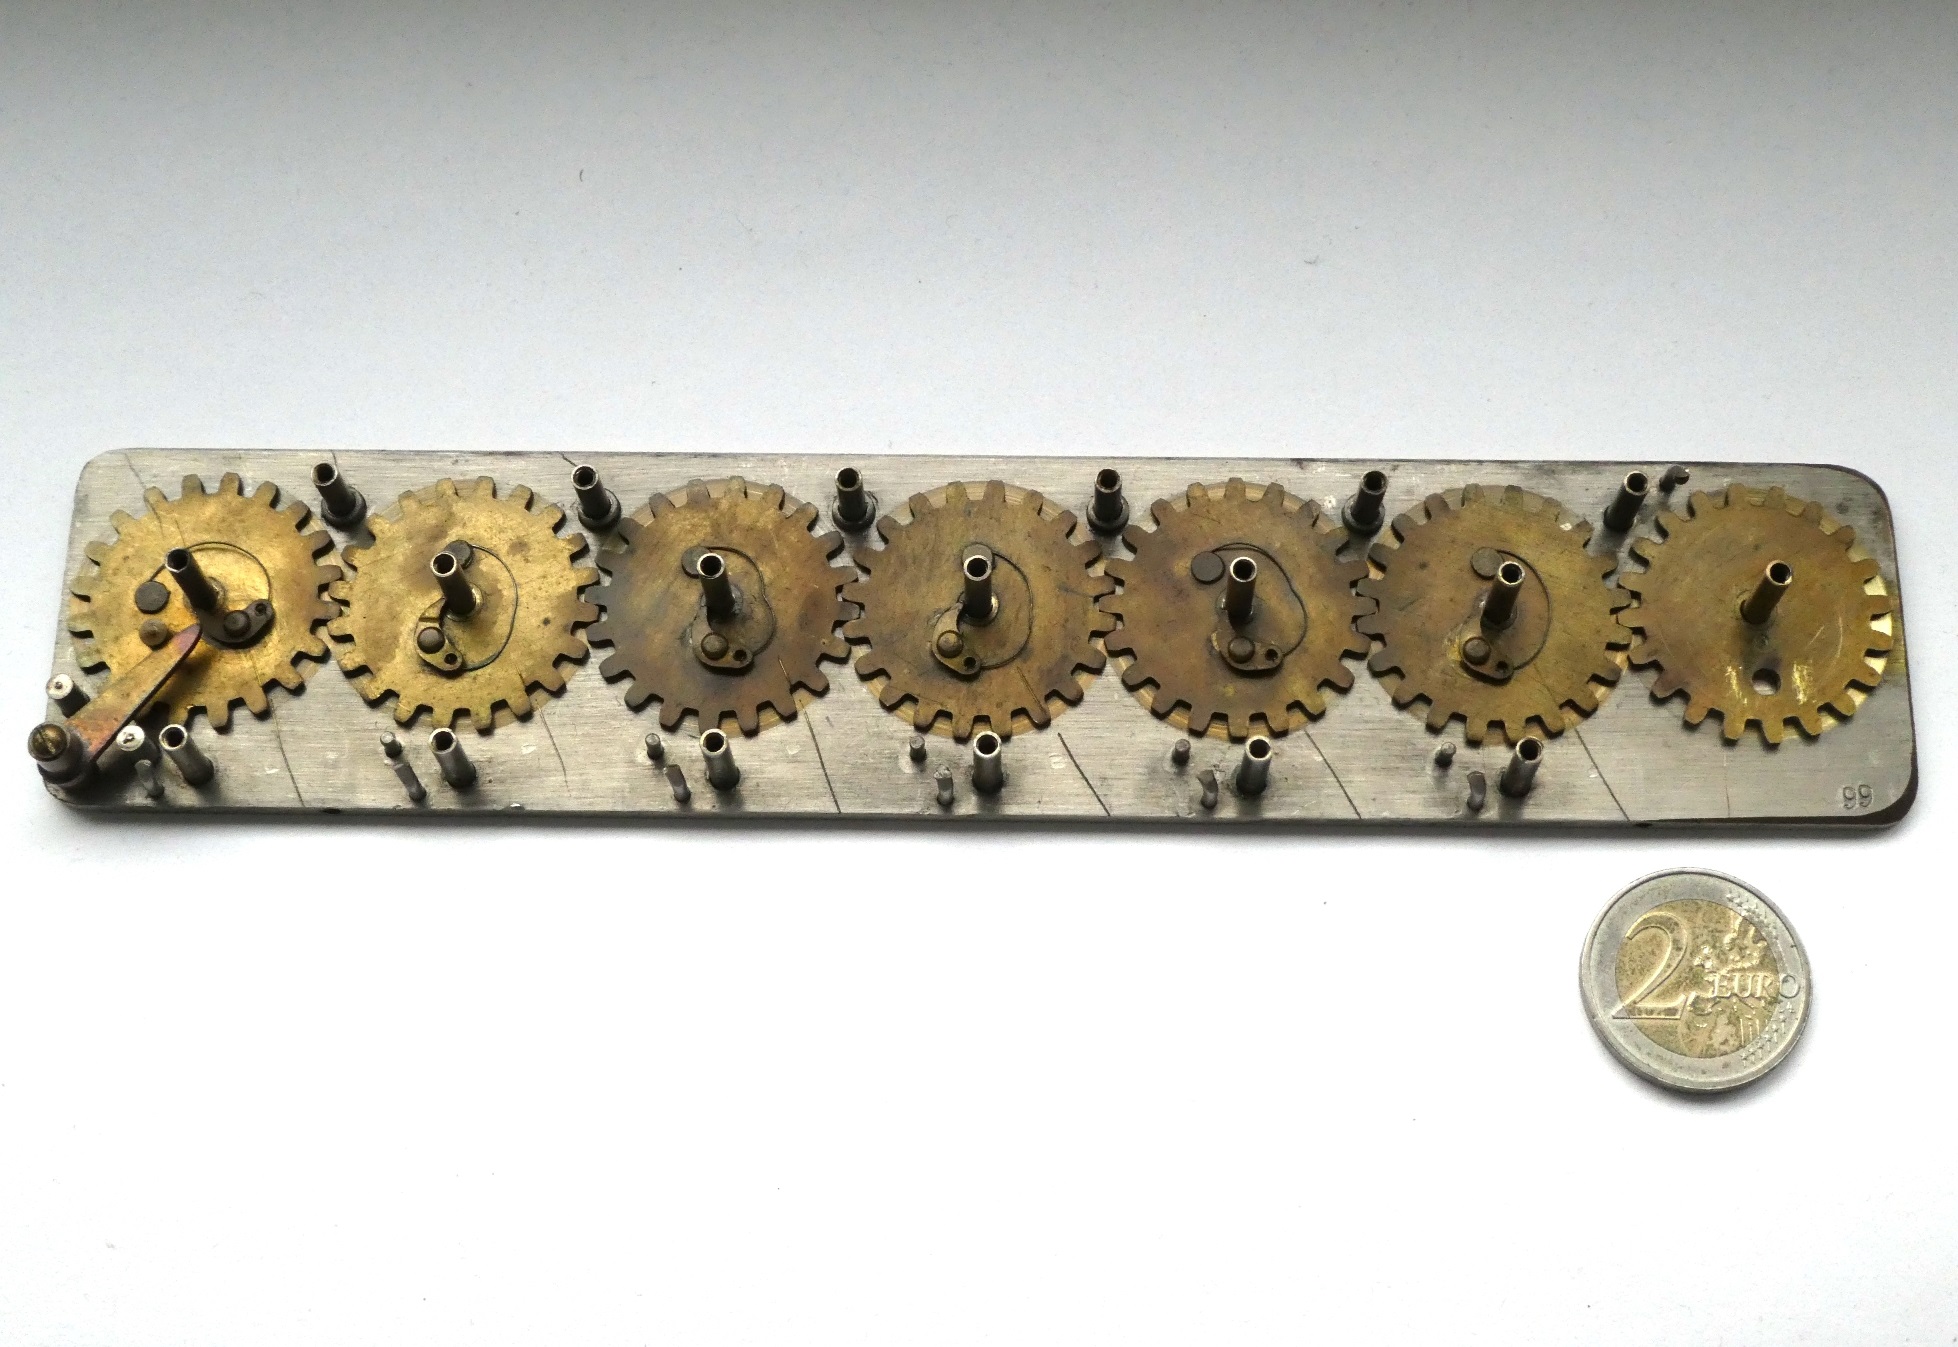
From the patent and the exploded view in the theory volume: a row of actuators on rivets, a higher row of numeral wheels with downward pins, one sheet-spring pawl per numeral wheel anchored at the back edge, and, on lever machines, the clearing rack. The things to look at are:
- Each actuator’s long carry tooth. It should be straight and unworn. A bent carry tooth is the classic cause of a carry that fails in one place.
- The numeral wheels’ pins. They should be straight, all ten present, and parallel.
- The pawls. Each should spring back firmly into the gap between two pins. A weak pawl can sometimes be re-tensioned by a very small bend at its spring section. This is an inference from the patent, not documented practice. A broken pawl would have to be made from spring-steel shim.
- The rack and the gap gears. Look for bent teeth and for a gear with more than its one missing tooth.
For comparison, the Calcumeter and the Webb adder, both of which open more easily, show what this class of mechanism looks like inside.
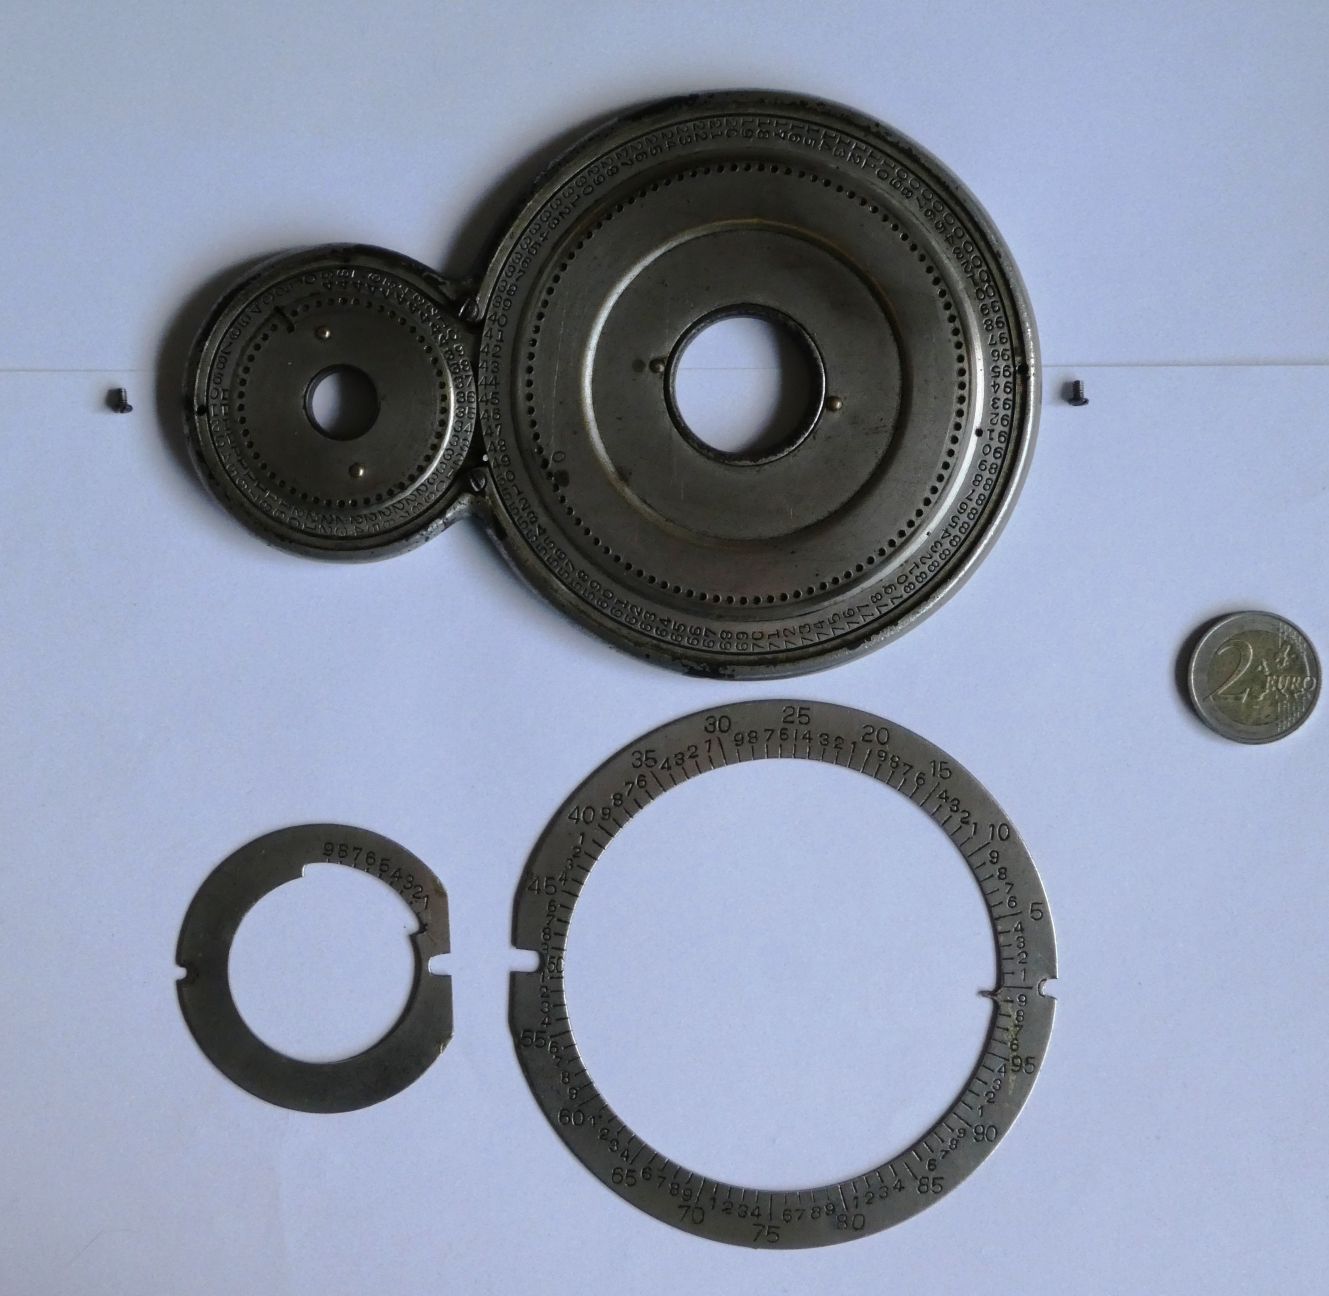
8.4 The faceplate and the figures
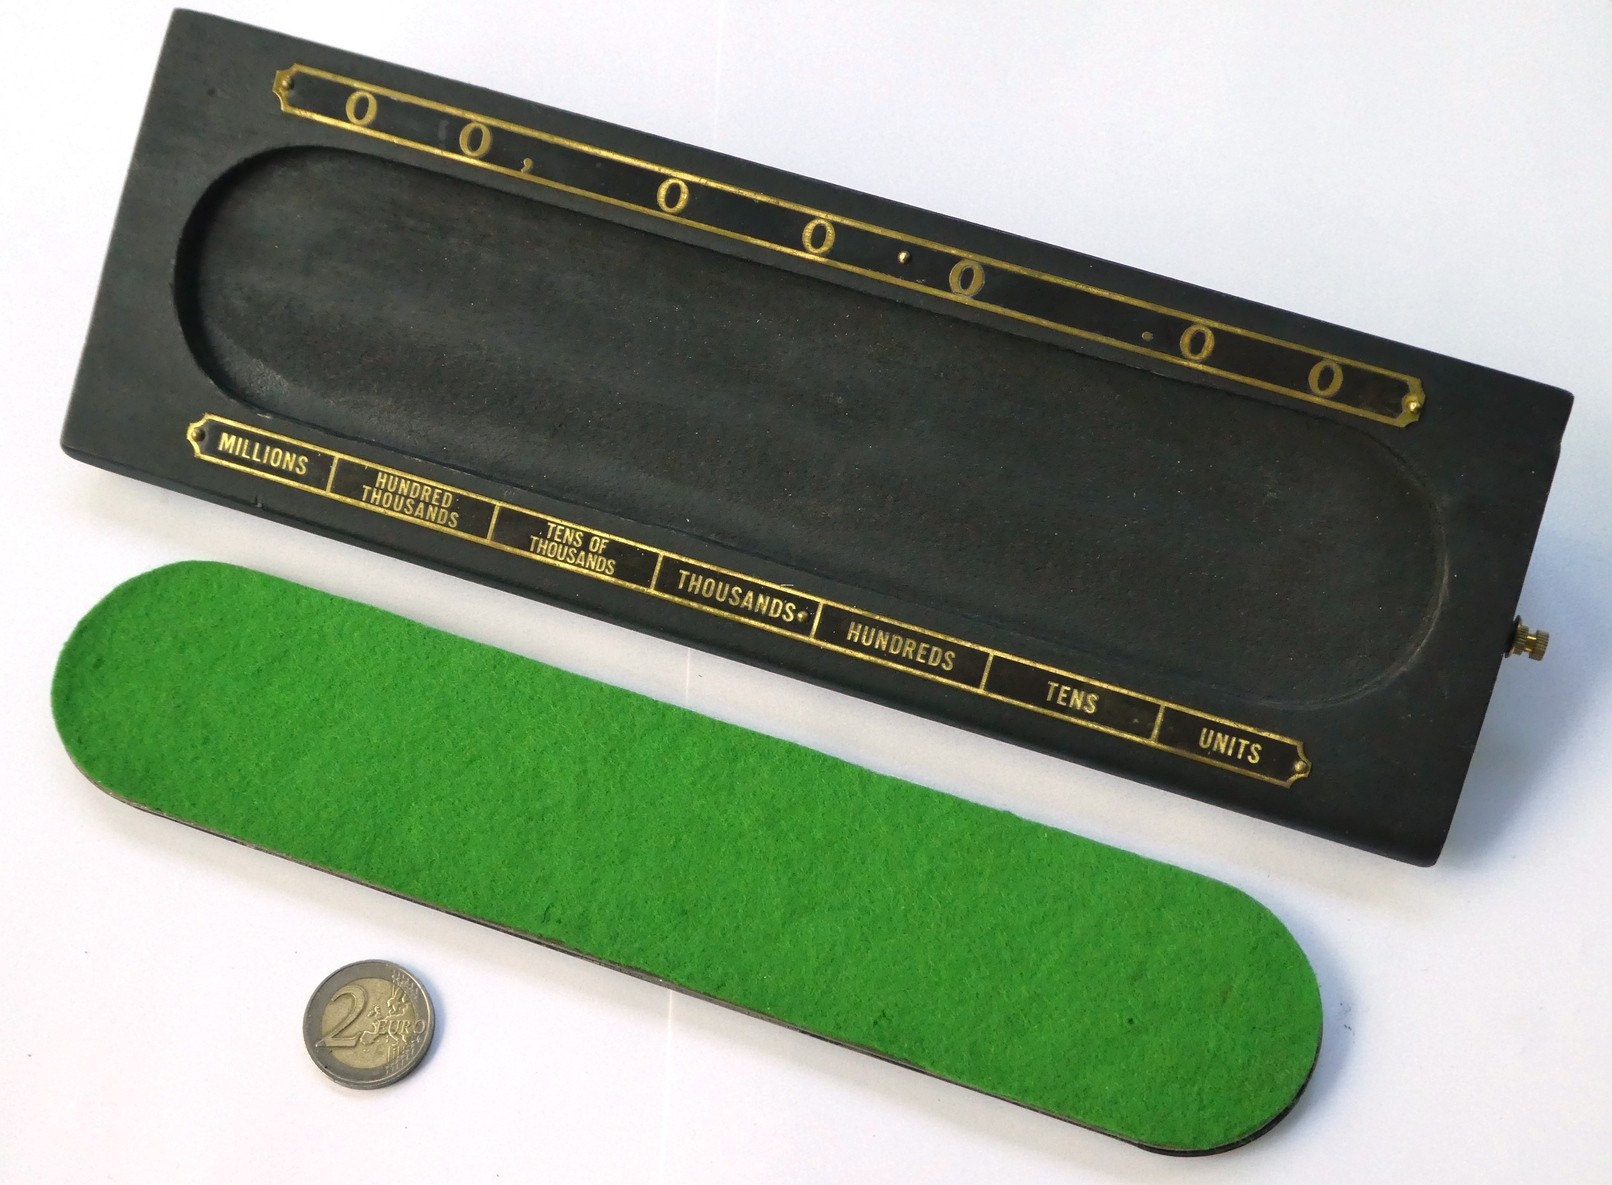
The Los Angeles faceplates are painted steel with the figures and legends printed on. Treat them as gently as the paint on a vintage toy: a damp cloth, a mild soap solution if needed, dried at once, and no abrasive polish. Solvents may lift printed lettering, so keep naphtha and alcohol off the face.
Wax lacquer-fill sticks (such as Markal Lacquer-Stik) restore lettering that is stamped or engraved into the metal. That applies to the Grand Rapids machines, whose lettering Otnes describes as “stamped into the metal and filled in with paint”, not to the Los Angeles printed faces. Hobbyists’ advice is to rub the stick in, wipe off the excess, let it cure for a day or two, and remove the excess with a slightly damp melamine sponge rather than solvent. Worn printed figures on a Los Angeles faceplate can only be touched in with a fine brush, and that is usually best left alone.
8.5 The Bakelite stand
Phenolic resin (Bakelite) is one of the most stable early plastics, but its glossy surface is a thin resin-rich skin over a filled body, and abrasives can wear through it to the dull filler beneath. Collectors of Bakelite radios, whose cabinets are the same material, give consistent advice:
- Clean first with a damp cloth and mild soap, and dry at once. Keep water out of cracks.
- Polish gently. Simichrome is the metal polish most often reported as safe on Bakelite. Novus plastic polish no. 2 is widely used. Brasso has been used but should be tried on a hidden area first.
- Sand only as a last resort, wet, at 800 to 3000 grit, for deep scratches only. “You have to be very careful when sanding Bakelite because you’ll eventually reach a point of no return.”
- Avoid strong solvents. One radio owner found that lacquer thinner left a finish looking “like Swiss cheese”.
- Wax can leave the finish spotty.
- Cracks and chips. General practice with Bakelite radio cabinets is epoxy or cyanoacrylate. Nothing specific to Lightning stands has been found.
Remember that early and late stands differ: the lever models’ stands have a cut-out at the left for the tab, and their bodies are thicker. A replacement stand has to match the body.
8.6 Replacement parts
No parts supplier for Lightnings is known. Parts come from donor machines, and since Lightnings are common and machines without stands or styluses sell cheaply, a donor is easy to find. Match the model: an early (no lever), a lever and a subtracting machine are not the same inside. The Grand Rapids, Calculator and Pangborn machines share pressings, but they are riveted shut.
The stylus is the part most often missing. It is covered in the collecting volume, along with how to make one.
Comments (0)