Giant Curta · Volume 4
Gallery: The Finished Machine
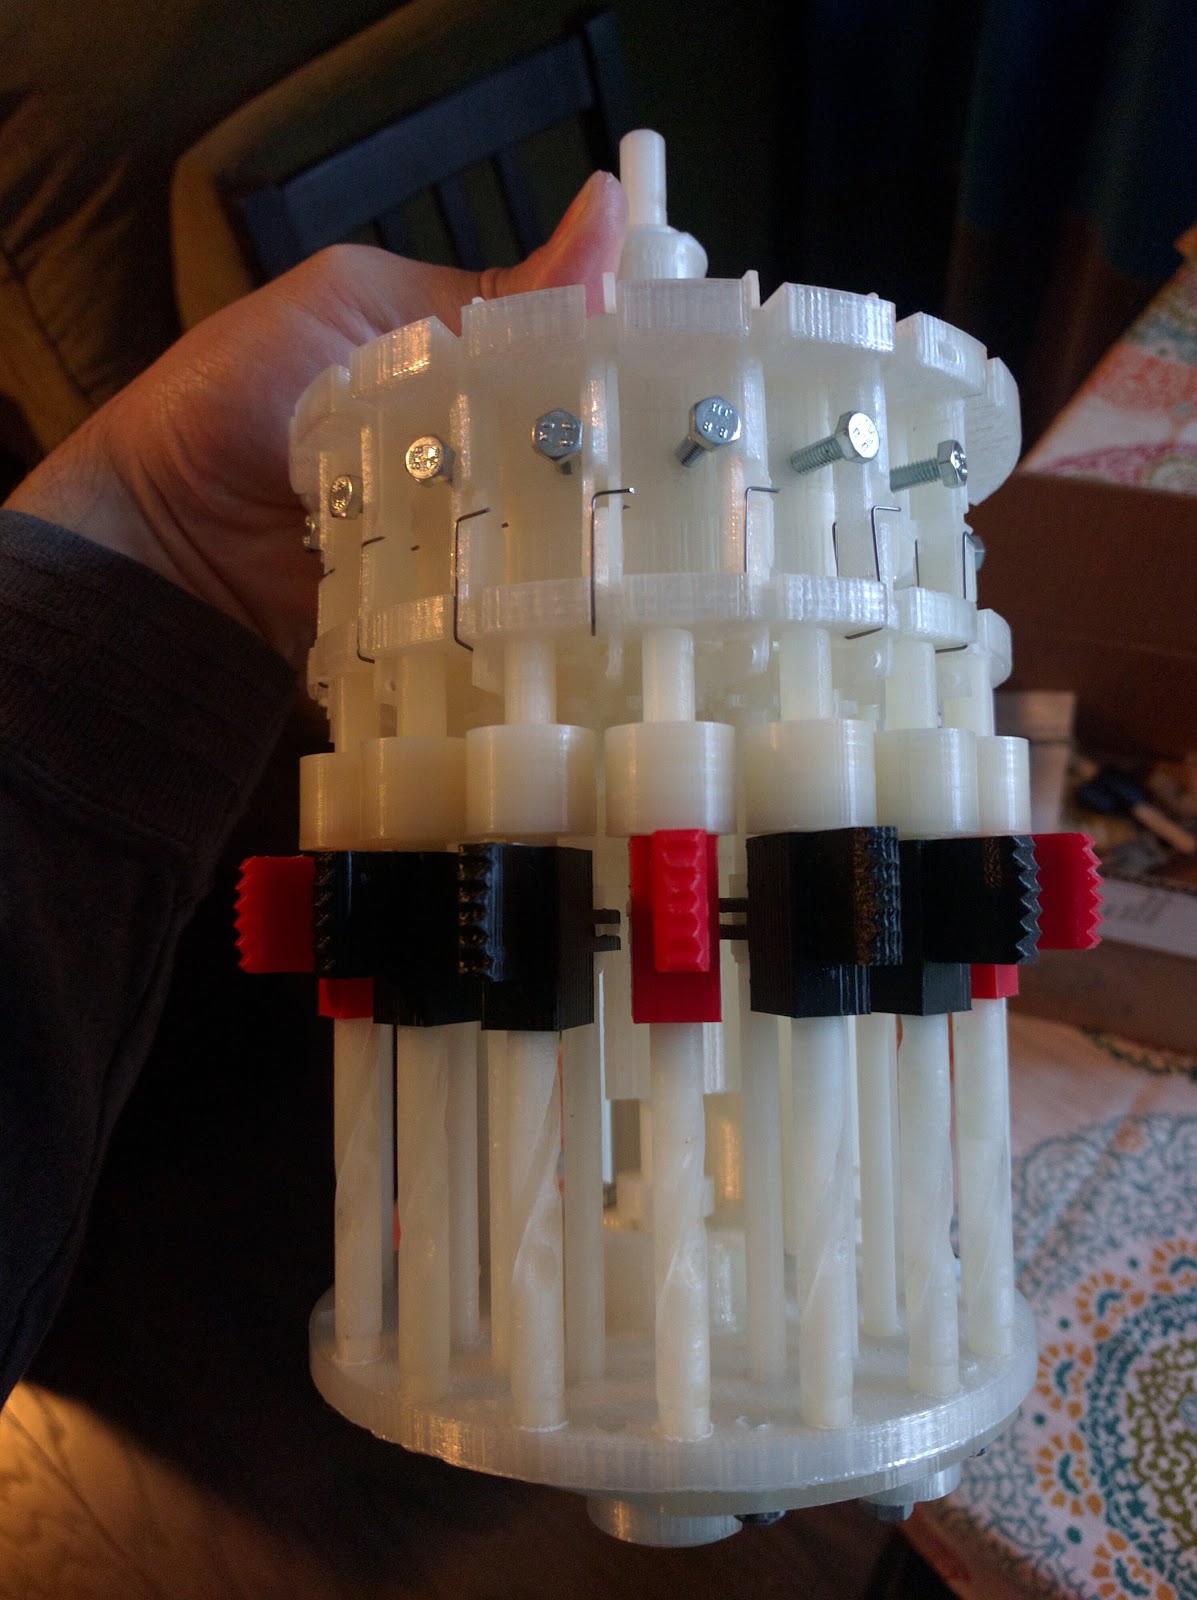
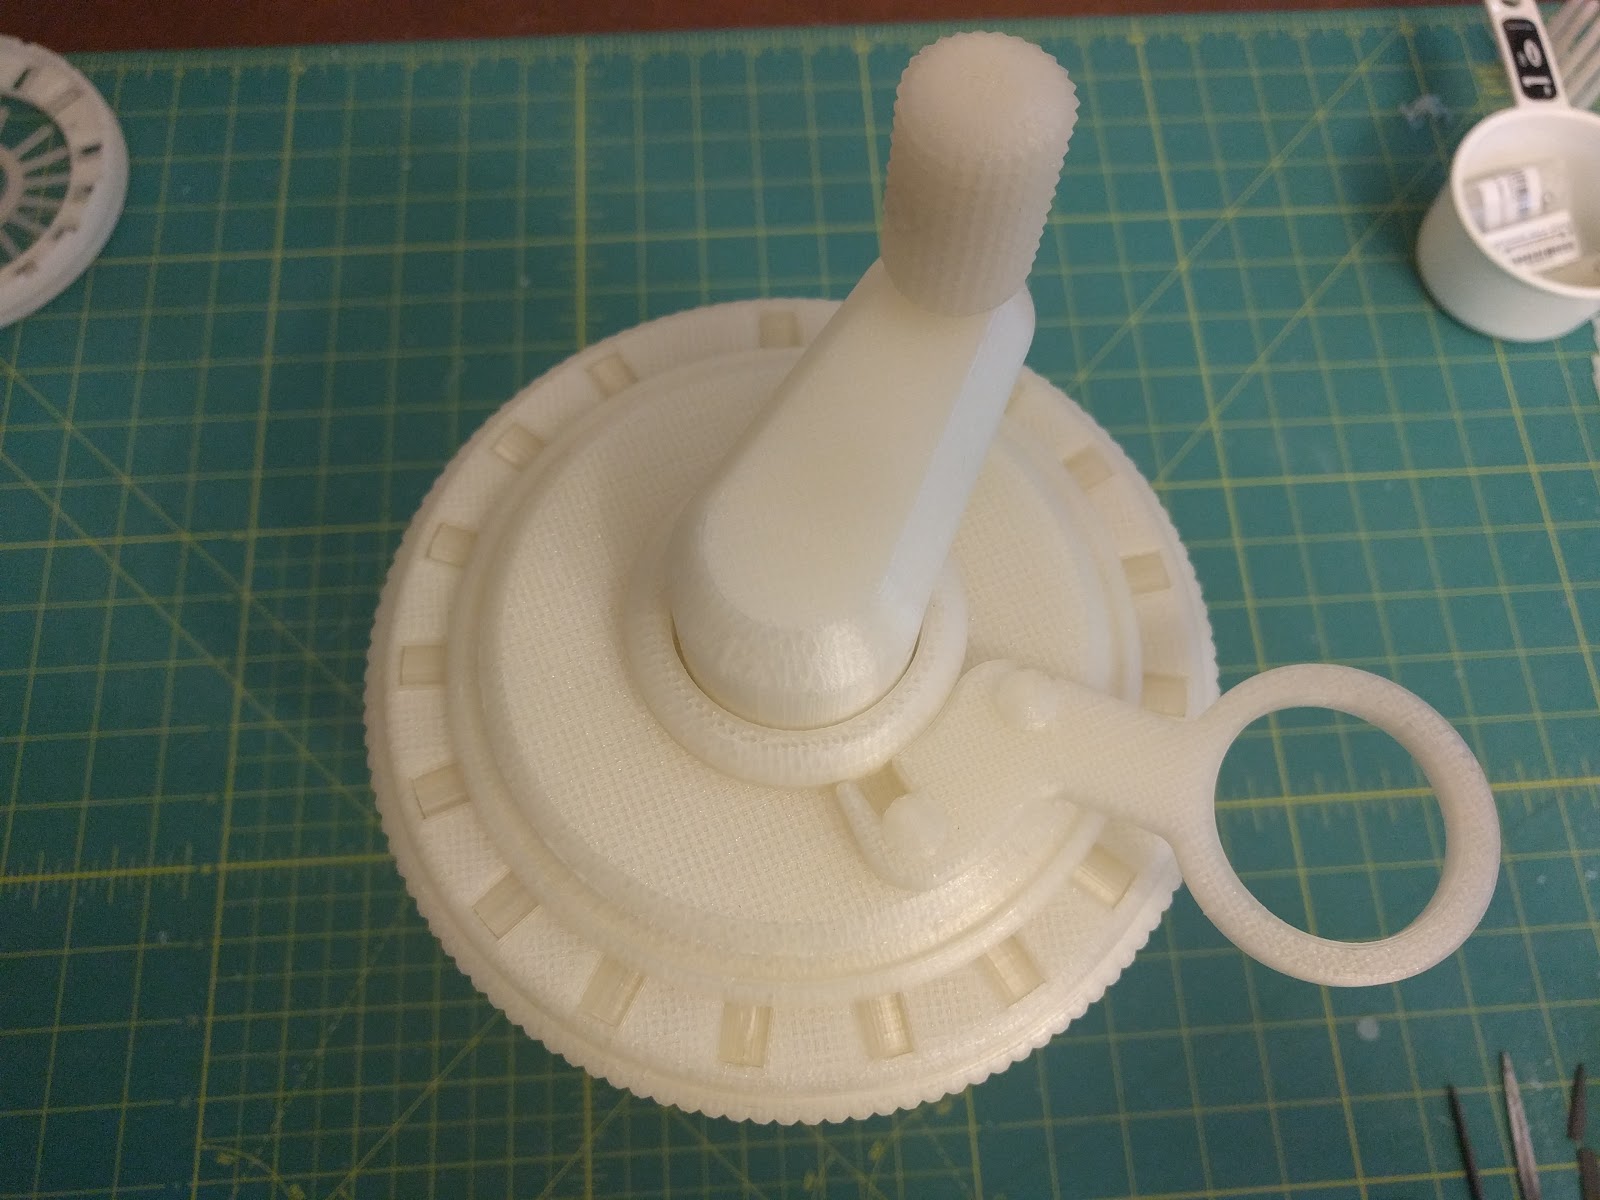
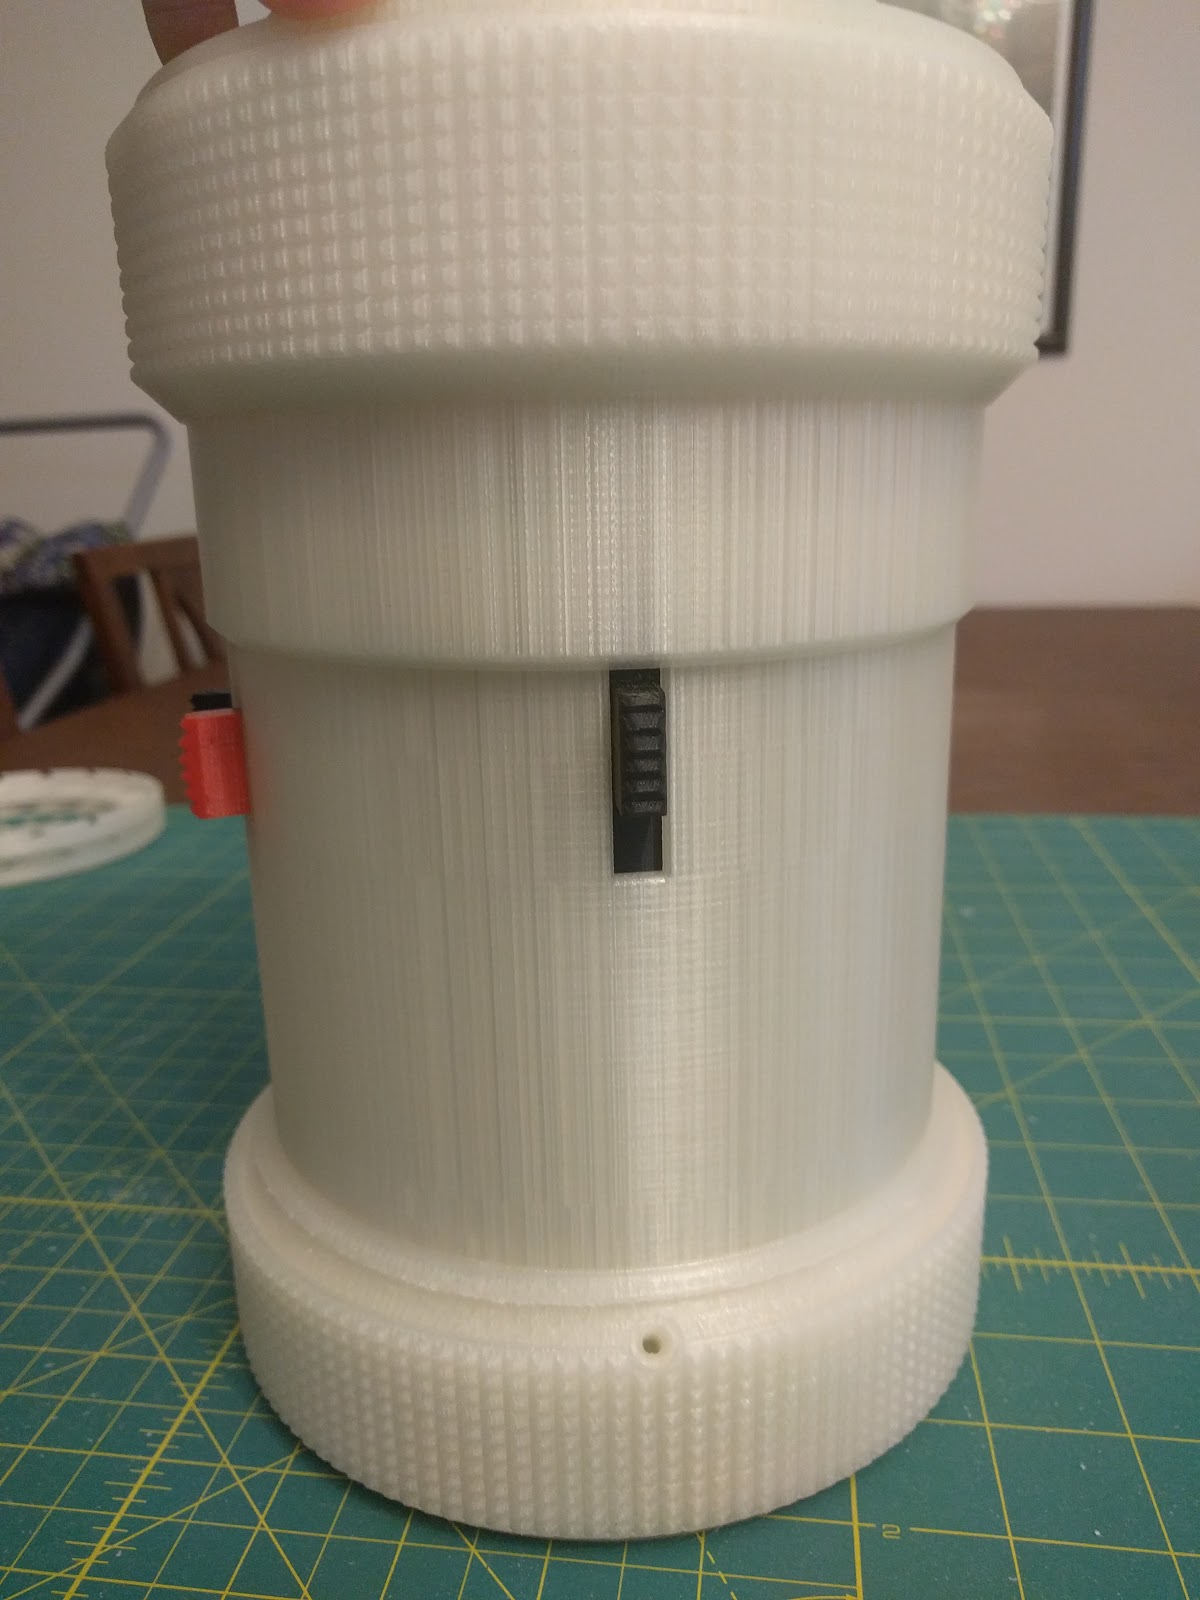
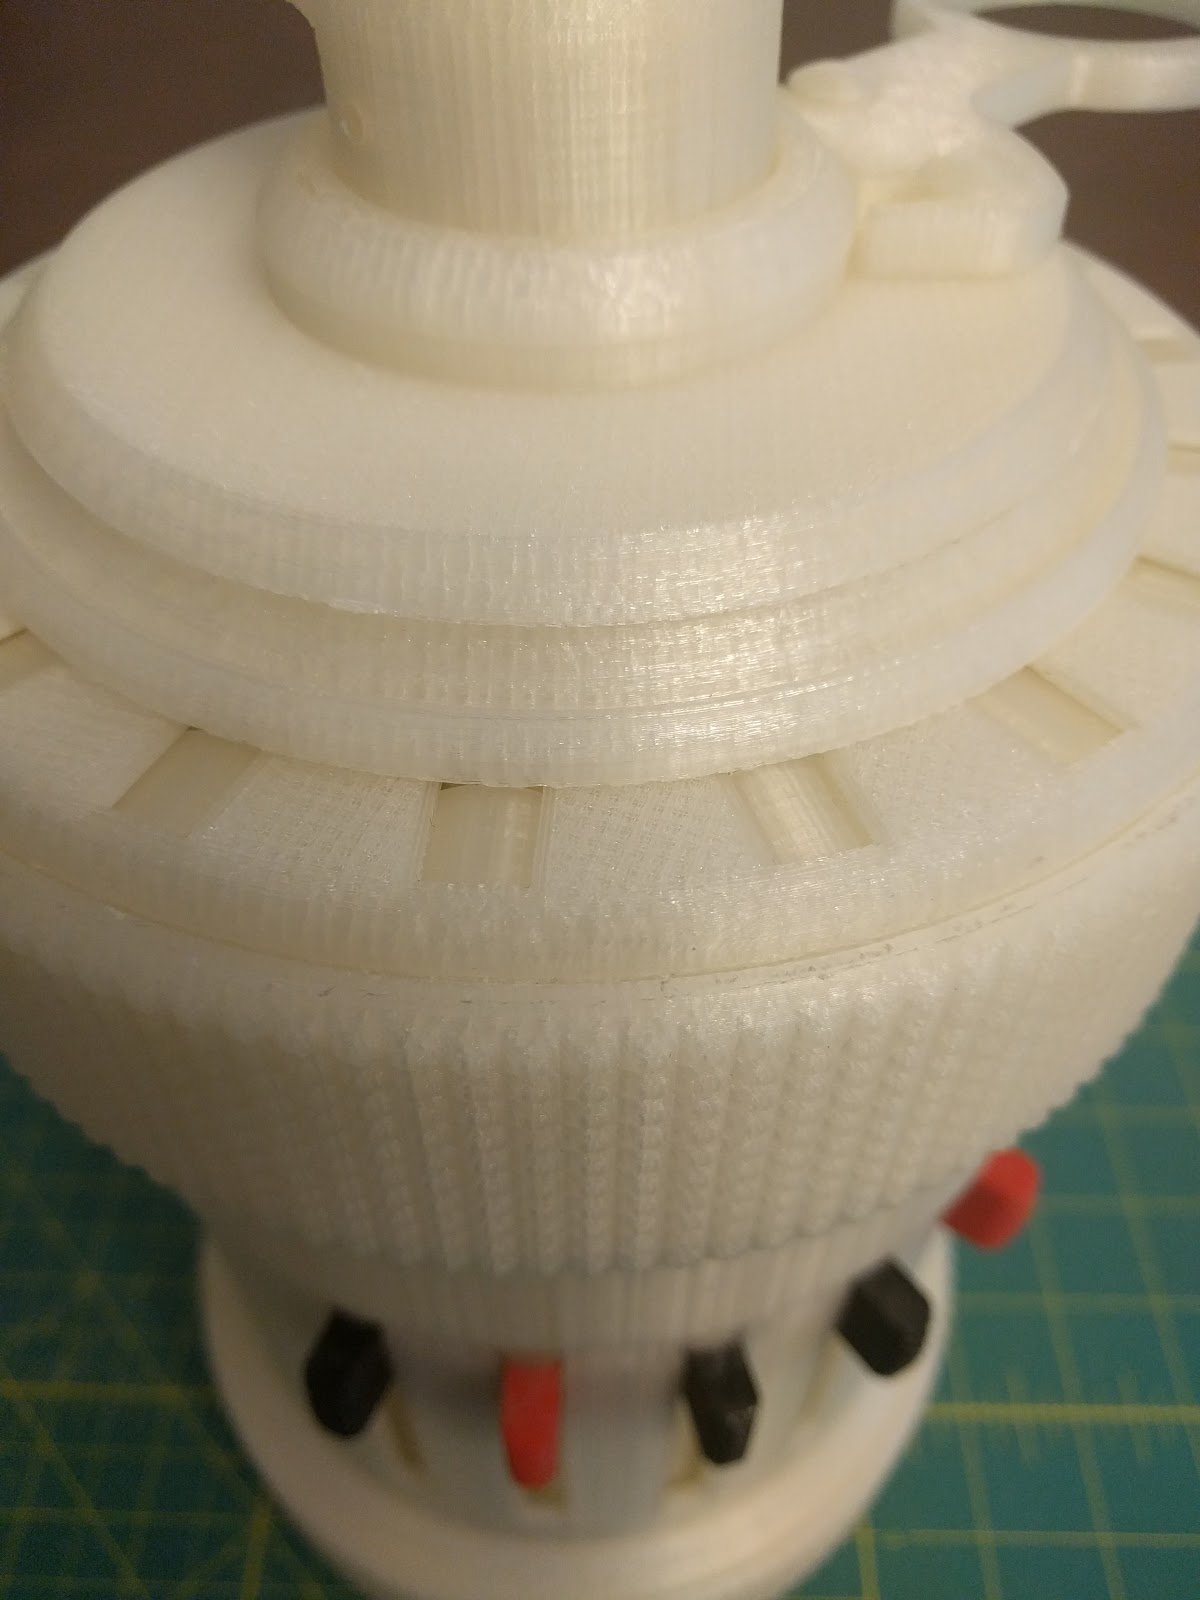
The photographs below are Marcus Wu’s own, taken across the later stages of his build. They are gathered here because the finished object makes an argument that prose does not: a 3:1 Curta is not a model of a Curta. It is the same machine, in a material that cannot quite do the job, doing the job anyway.
Each caption notes what is worth looking at rather than restating what is visible.
4.1 Finishing: paint and lettering
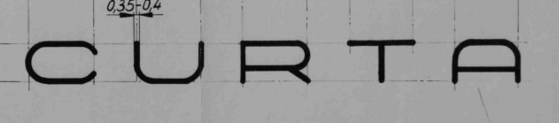
A Curta without numbers on its dials is a mechanism, not a calculator. The finishing work is therefore functional rather than cosmetic — Wu’s own framing was that the machine is not very useful without being able to see the maths being done.
The dial rings were painted, and the lettering was produced from CAD artwork, to be applied using masks cut from masking tape.
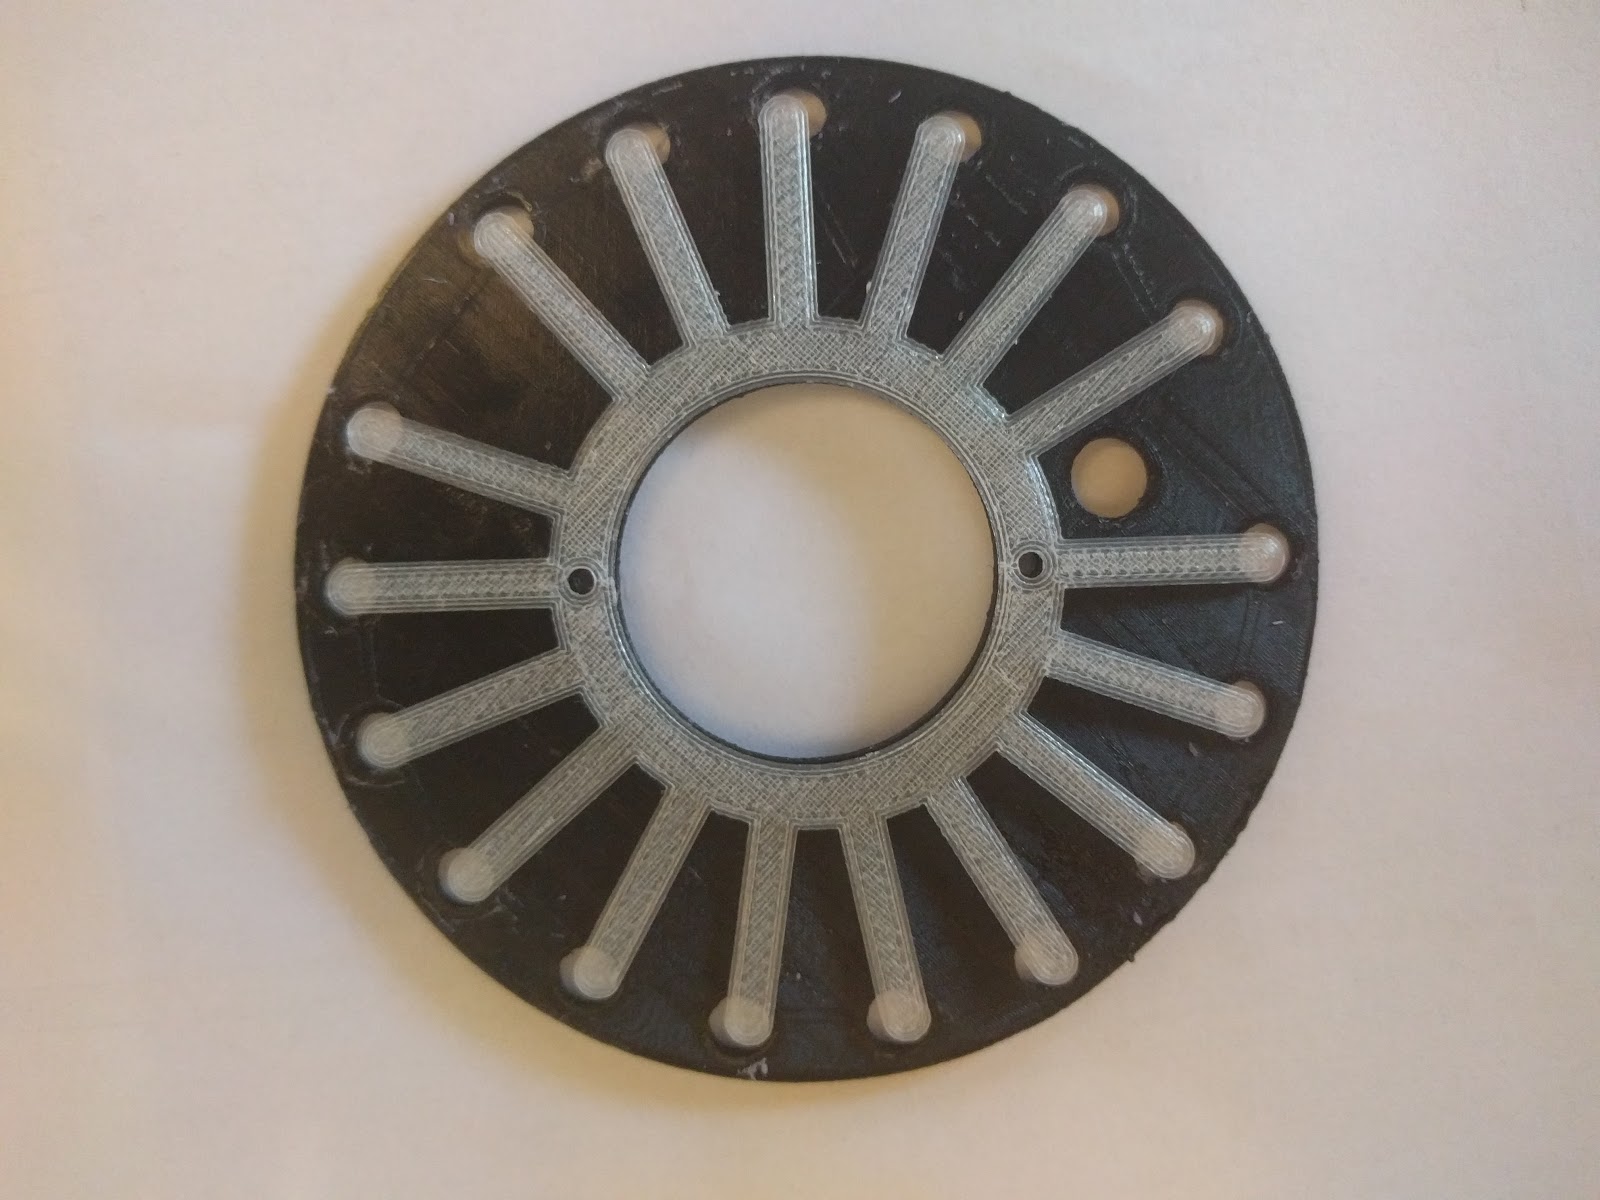
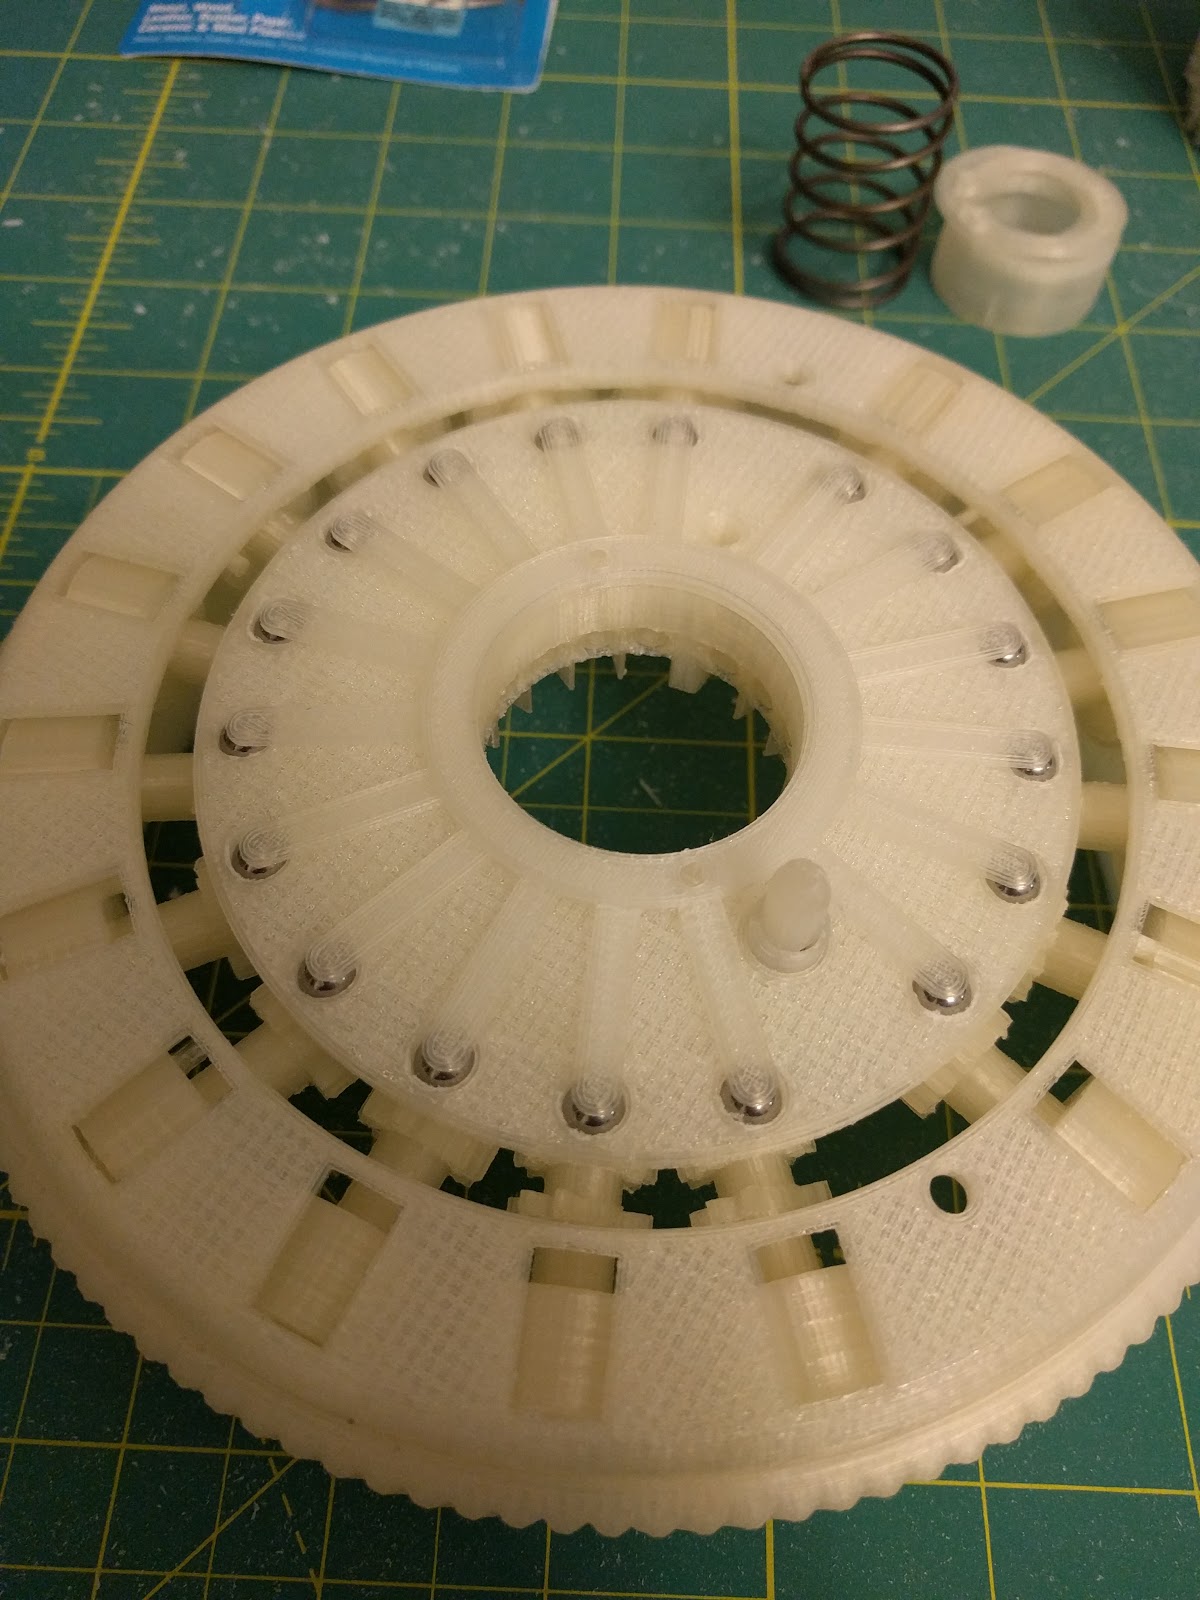

4.2 The body and the controls
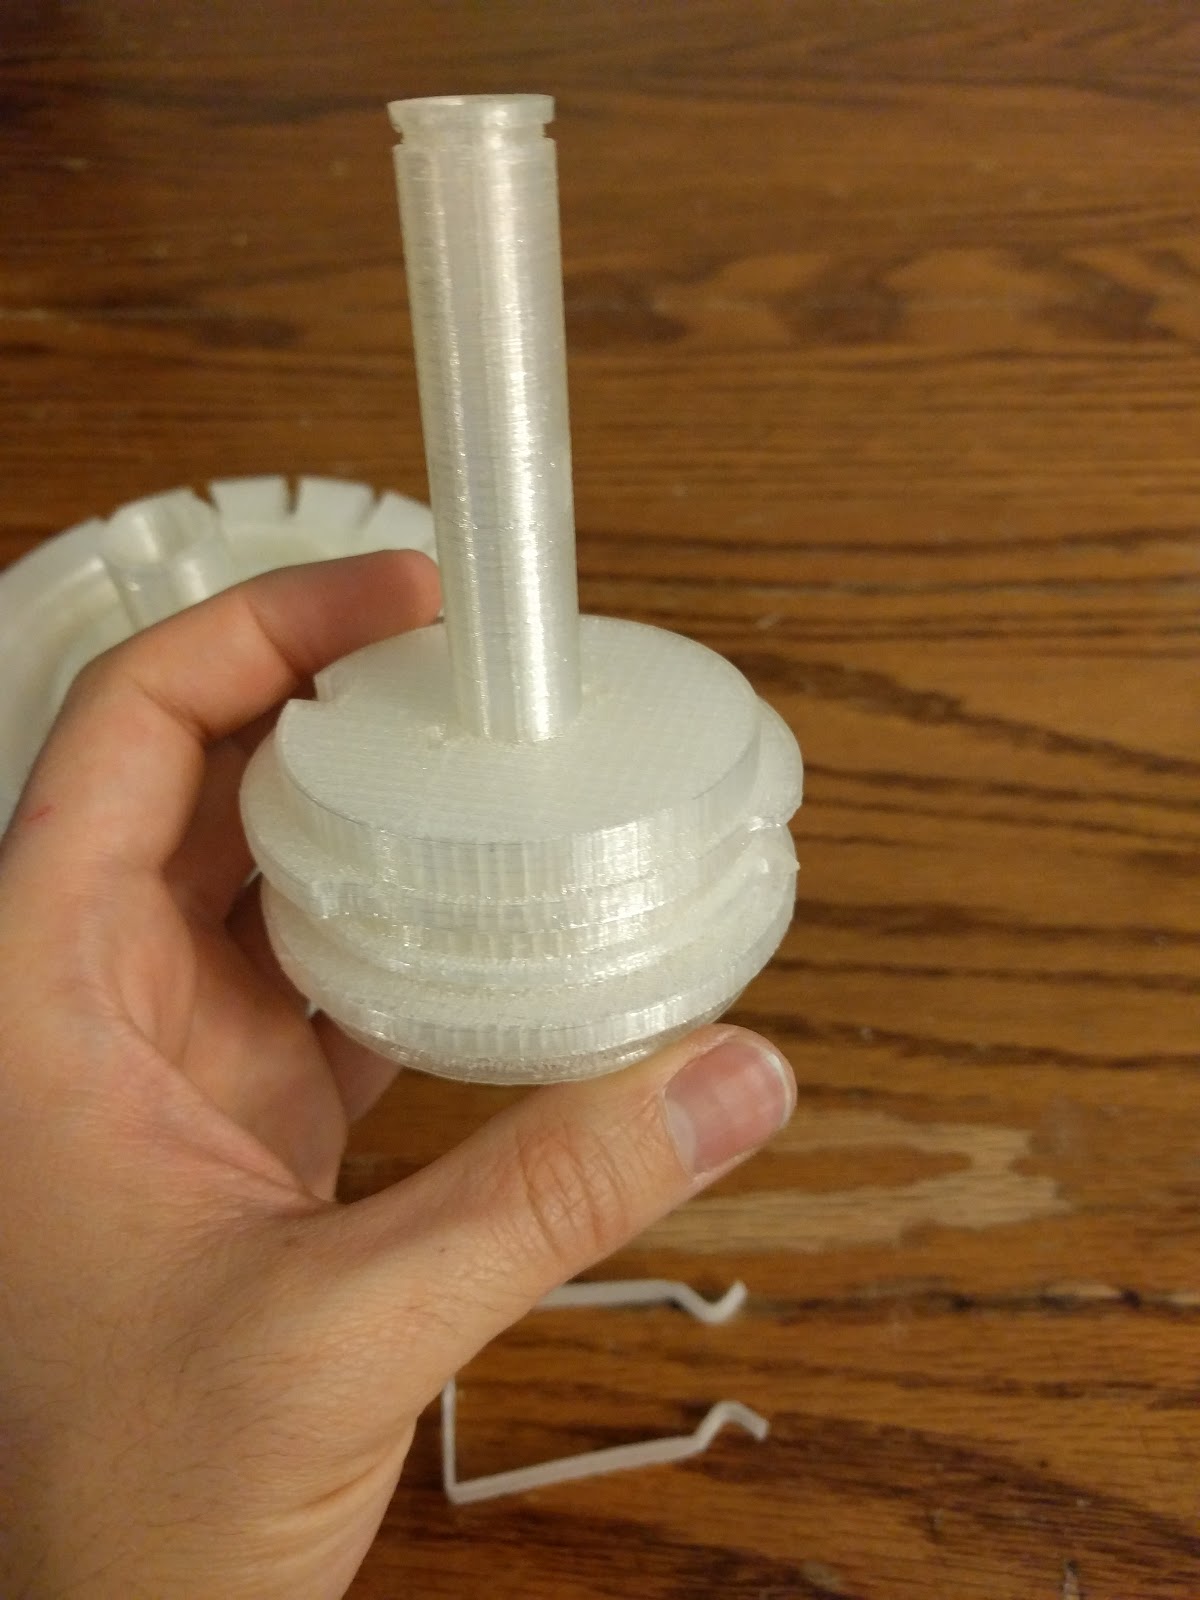
4.3 The assembled calculator
4.4 What the gallery is for
There is an obvious question hanging over a project like this, which is whether it was worth eighteen months to produce a plastic calculator that is harder to use than a phone and less accurate than an original.
The answer the photographs give is that the object is not the point of the project — the record is. Wu published the models under a free licence, published the tolerance testing, published the failures, and published enough photographs of the assembly to support a build manual. The figure quoted for downloads of the published model had passed 28,000, and other people have built from the files.
That is a different kind of artefact from a calculator. An original Curta is a sealed object that its manufacturer explicitly instructed owners never to open; the mechanism inside it is documented in engineering drawings that, as this build discovered, are not entirely self-consistent. A 3:1 printed Curta with a public model tree, a published tolerance study and a photographic assembly record is a readable Curta. Anyone can now hold the carry lever, watch the complemented drum lift, and see the reset rack sweep — which, before 2017, essentially required either a factory demonstration cutaway of which around twenty-five were ever made, or the willingness to destroy a working machine.
Set against the cutaway kits described in the Curta dive, that is the fair comparison. Contina built roughly twenty-five see-through machines so that salesmen could show the mechanism to customers. A hobbyist with a printer and eighteen months released a design that lets anyone build one.
4.5 Sources for this dive
The technical content across these four volumes comes from Marcus Wu’s own project write-ups at wudev.digitaltorque.com (the 3D Printed Curta series, parts I through IX, plus his note on build-manual progress), supplemented by the Onshape and Simplify3D accounts of the project and by contemporary coverage of the Tested segment of 31 August 2017.
Points that could not be established from those sources — the scale and provenance of the specific machine Adam Savage owns, the identity of the printer used, and the plainly mistaken print-speed figure — are flagged where they arise rather than resolved silently.
Comments (0)